


This guide should help you get started on github.com, by walking you through the creation of a new git repository and by pushing a current folder from your machine up to github.com.
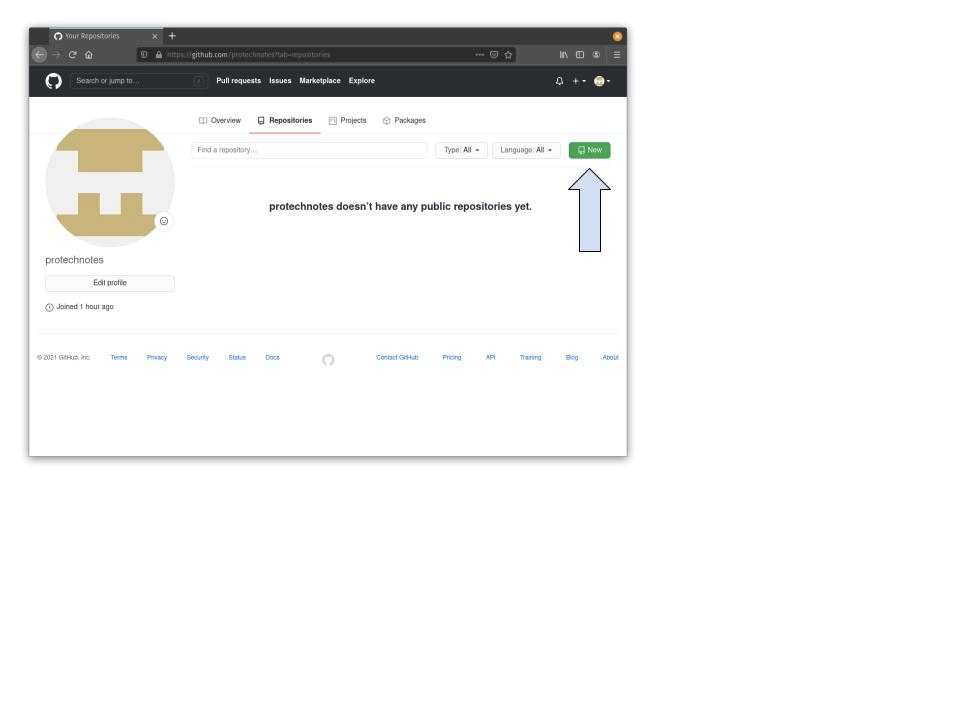
Go to your github com account in your browser. Make sure you are under the “Your Repositories section”
https://github.com/protechnotes?tab=repositories
Click on “New” button, next to “Repositories”
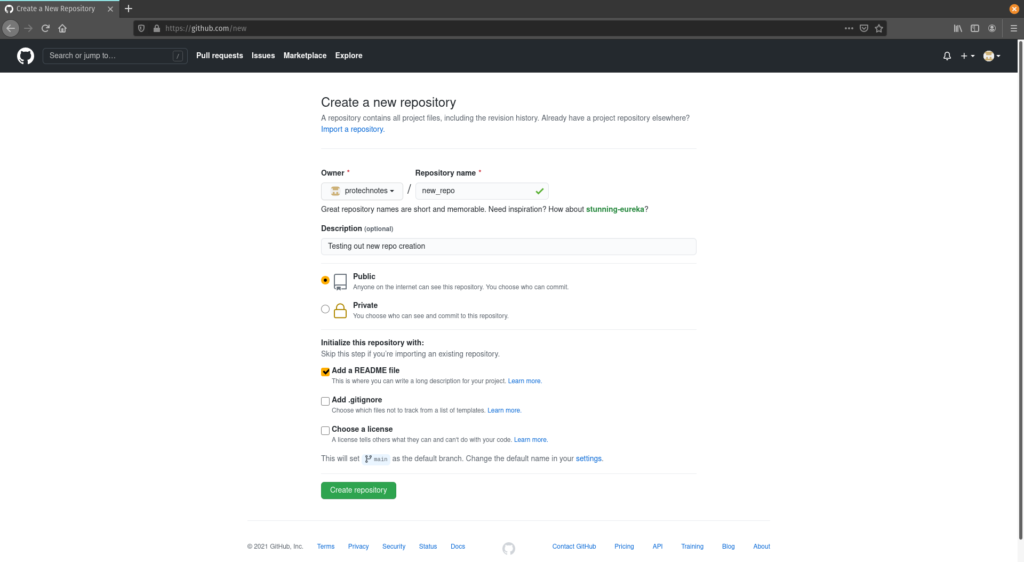
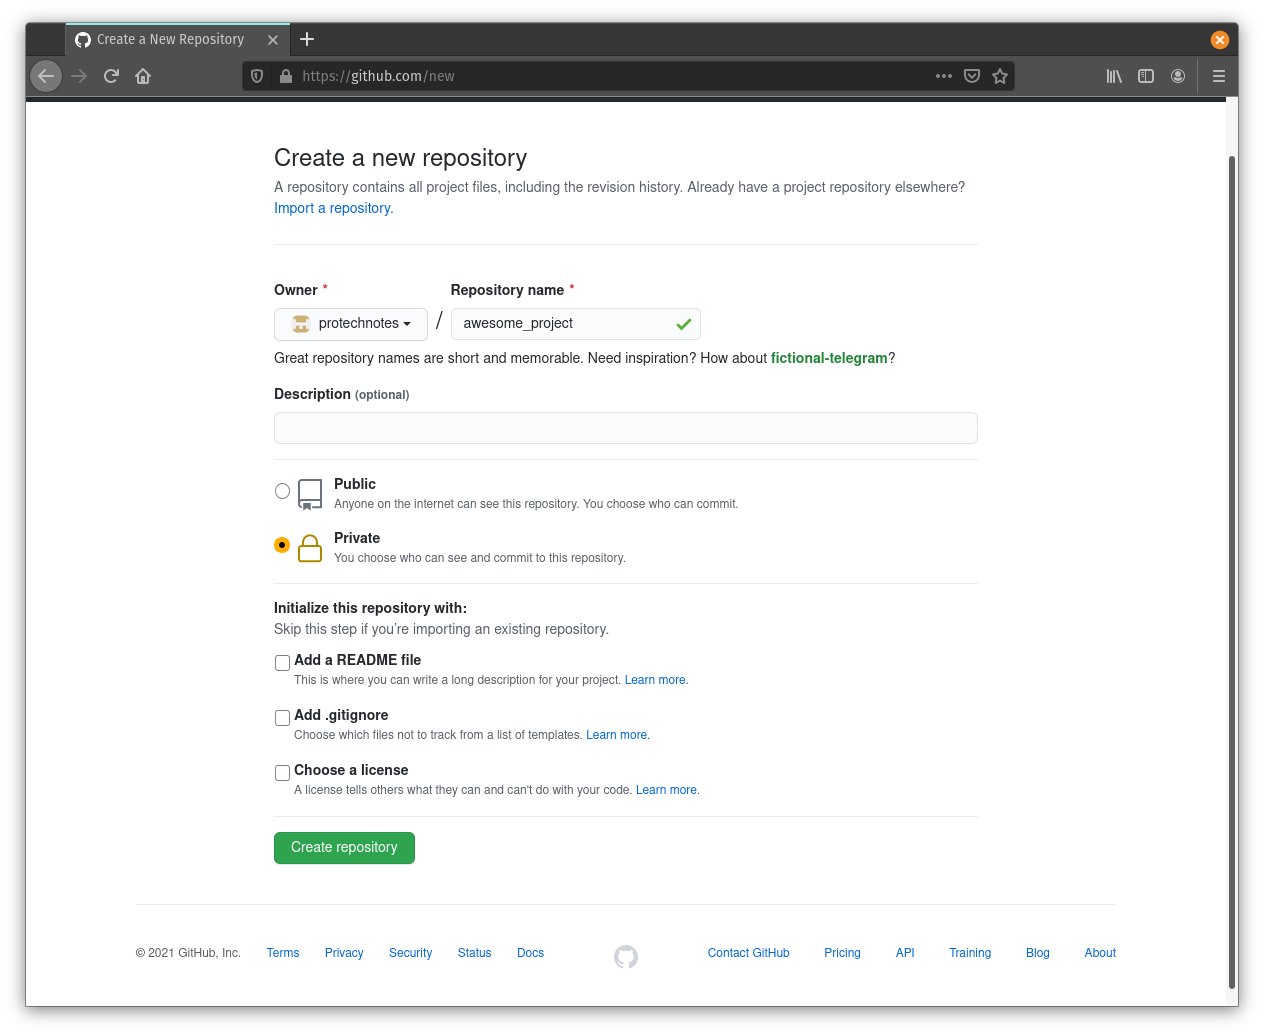
Name your new repository something that is relevant to your project or the work you will be doing within this repo.
Choose to make this repo either public or private. This can be changed at any time in the future. If you are not sure, choose private until you are ready to share your work with the world. Once the project is public, it is searchable within github.com.
Then select to add a README.md. This is a good place to put some notes about your project, what it aims to accomplish, and any notes that other people (or your future self) might need to actually use this project.
Skip adding a .gitignore and adding a License for the moment (these can be added later, and your current project is private anyways).
Click on create repository.
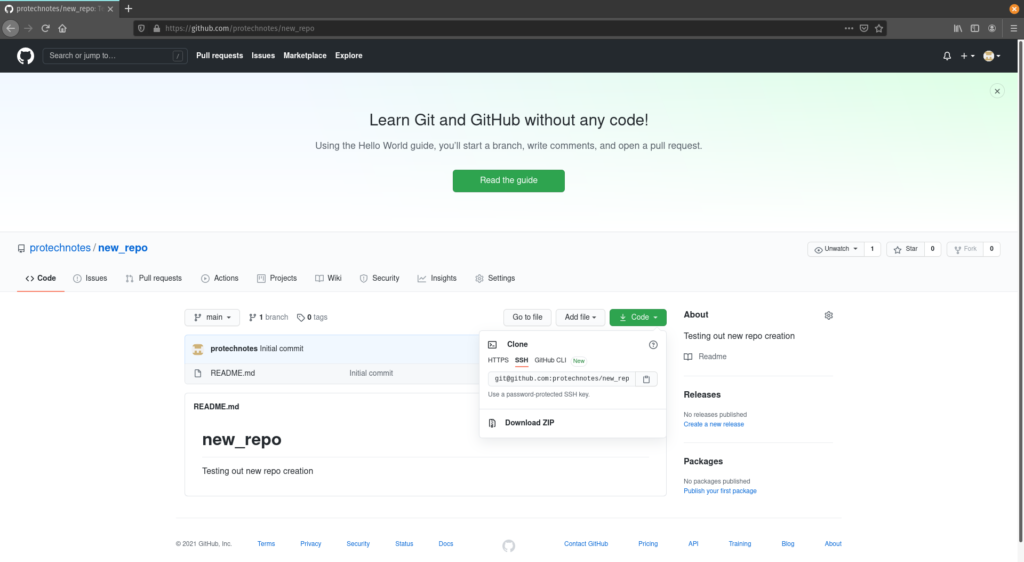
You should then be presented a screen that should show your REAME.md file. Click on the “Code” button and choose either https or SSH, and copy that selection to your clipboard. Only choose ssh if you have set up your keys in github (more info about how to do that here <link to article about setting up github keys)
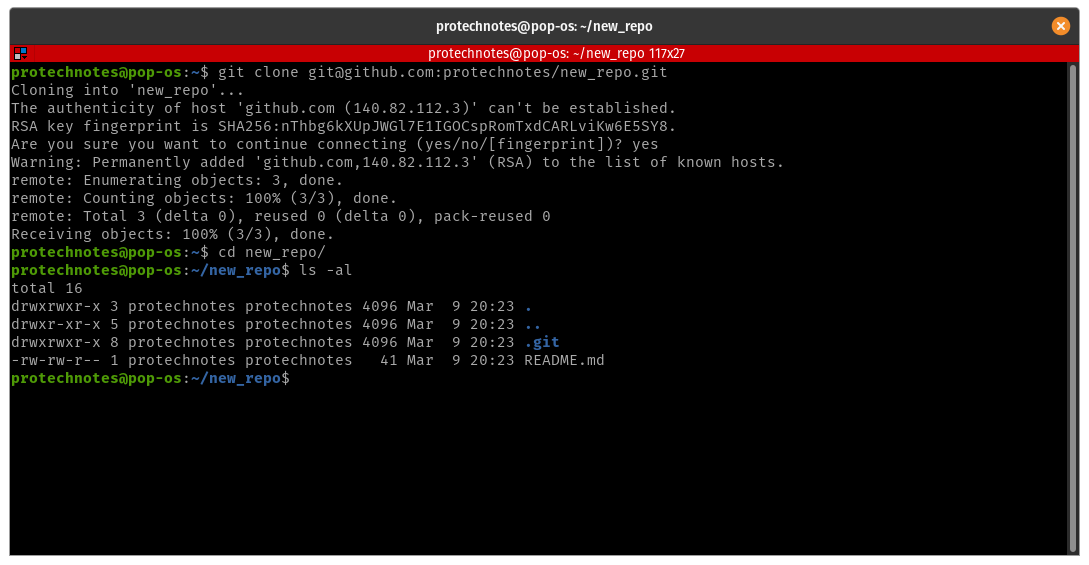
Open your terminal, and navigate to the folder where you want to pull down your git repo.
Do a “git clone “ and paste in what you copied from github.com
Change Directory (cd) into your new repo. Profit.
Importing a current project into github.com
Change Directories (cd) into the top level directory where your project lives
If you haven’t already, set up your git config with your username and email
git config –global user.name “John Doe”
git config –global user.email johndoe@protechnotes.com
You can setup your default git editor now as well (i prefer vim)
git config –global core.editor vim
Or if you prefer nano
git config –global core.editor nano

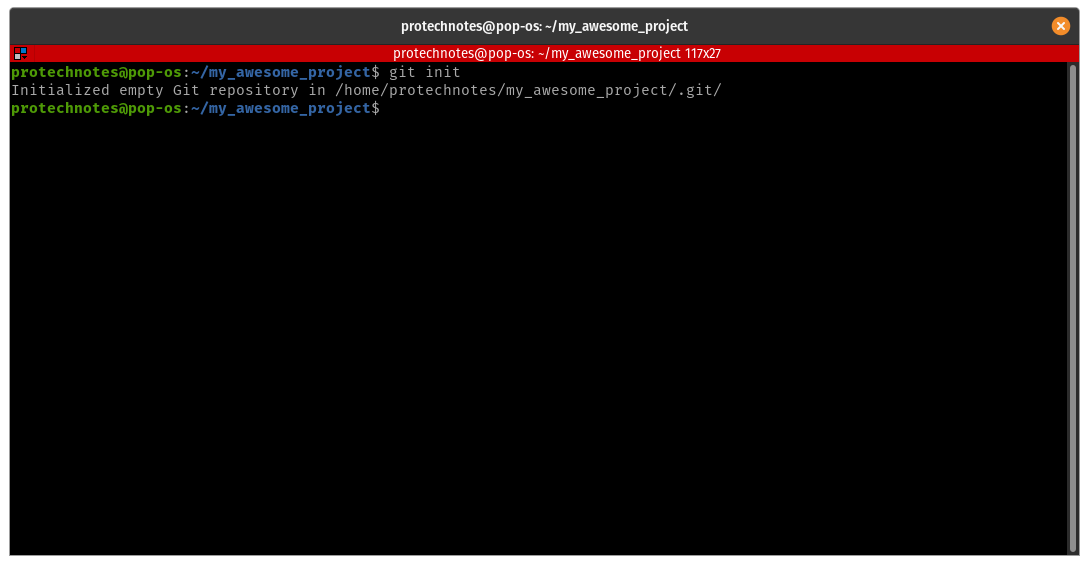
Then you are going to want to initialize this folder as a git repo.
Use the command “git init” to allow git to start tracking files in this folder
Then go to github.com, follow the steps to set up a new repo, but do not include a REAME.md, or a .gitignore or license file.
When you hit create, the next commands that you need will be on the screen for you to utilize. In case you close the tab, here they are again:
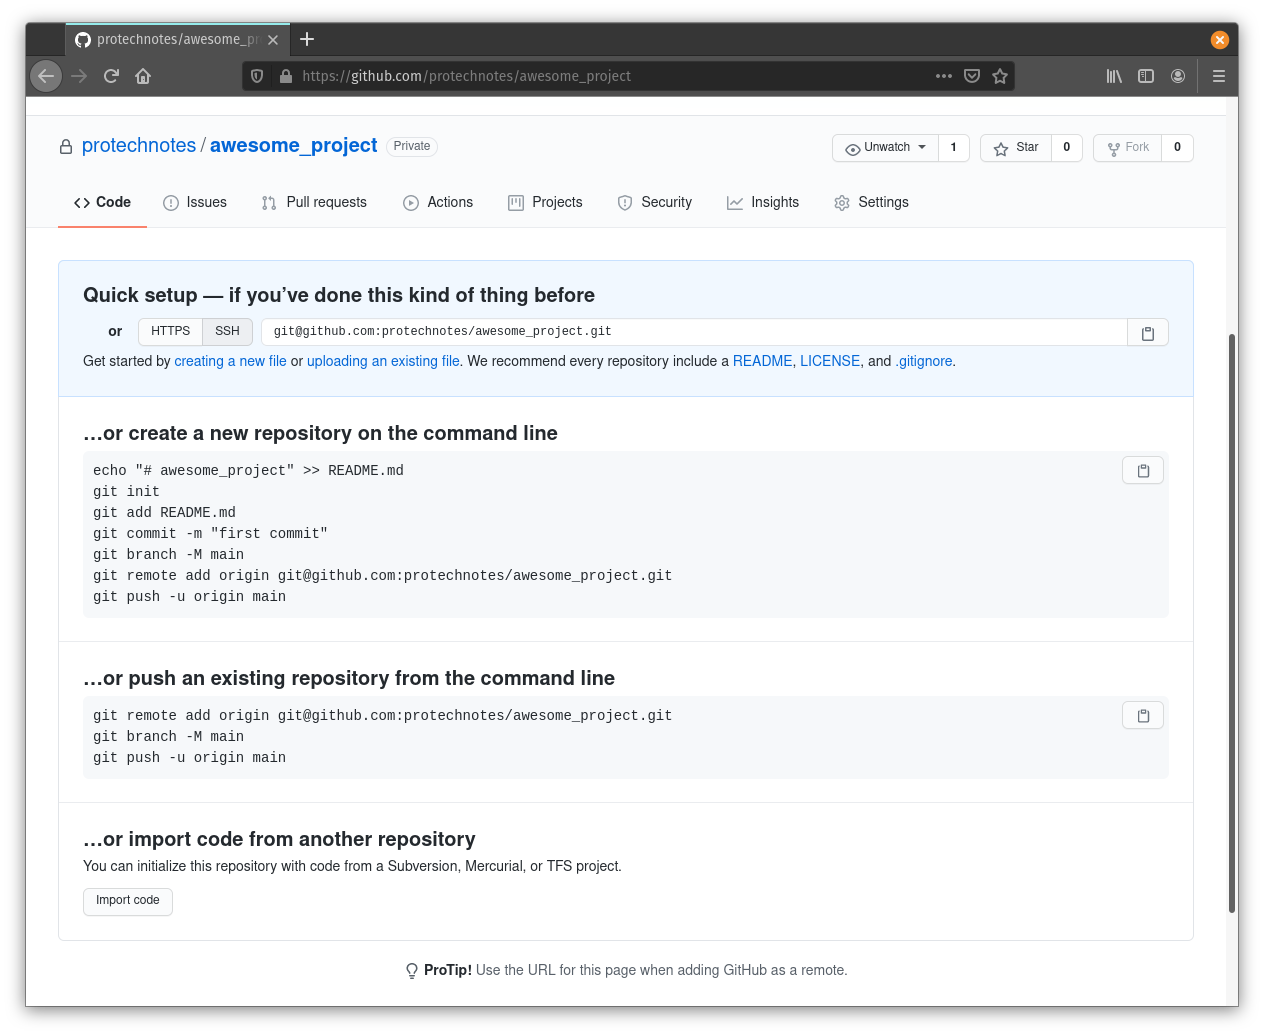
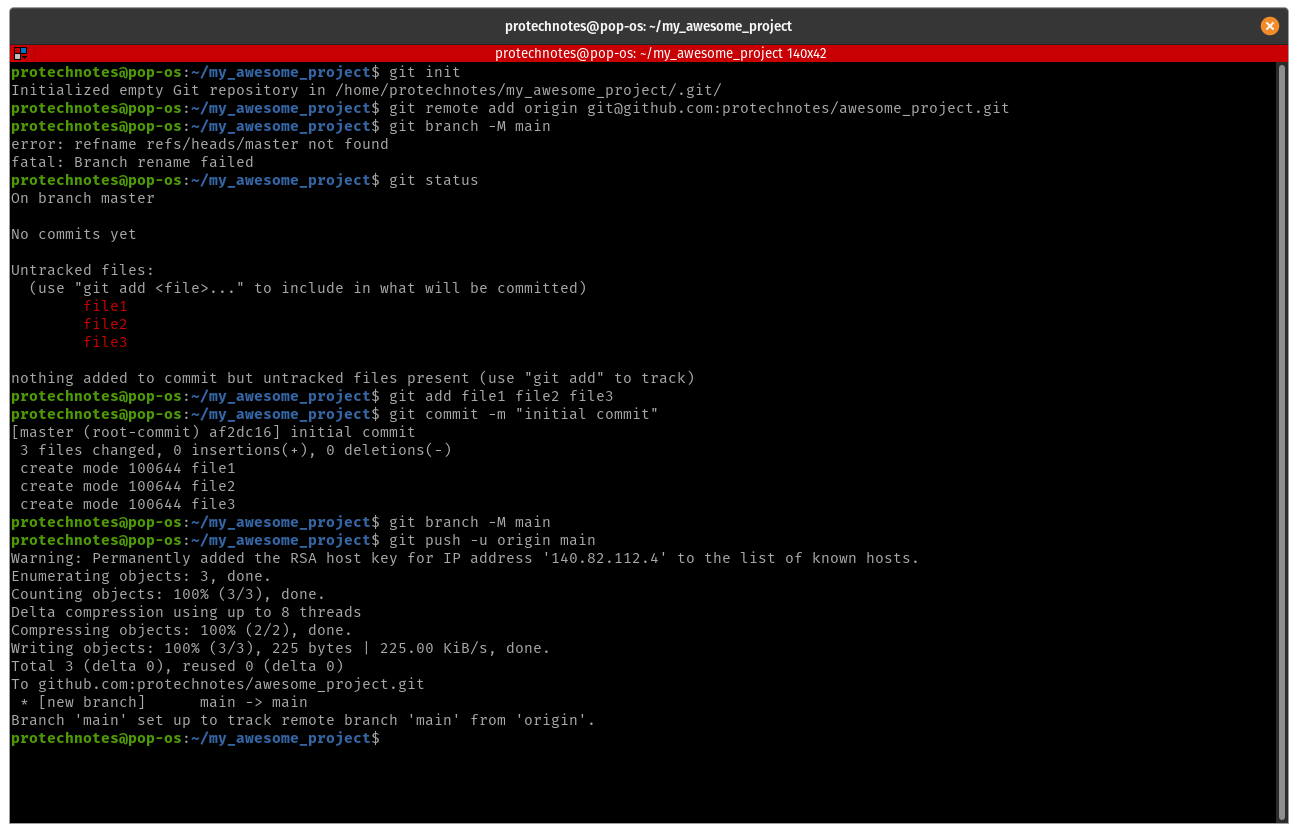
If you try to push an existing repository from the command line, you’ll need to first commit your files/folders to your repo, before you change the branch name to Main (as the instructions on github.com indicate). If you don’t have anything committed, you’ll get this error:
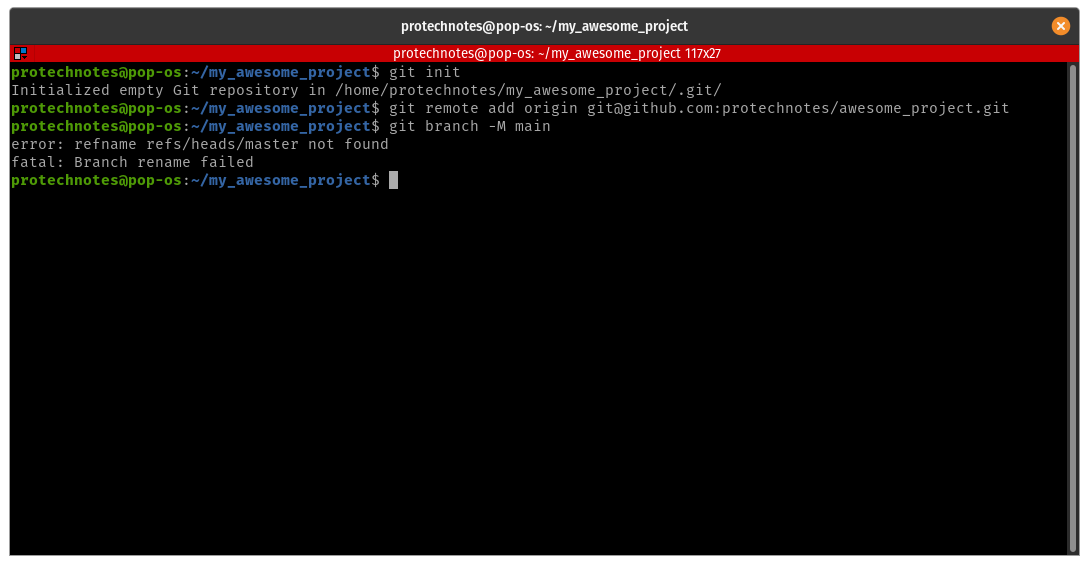
Once you have the files added and committed to your local repo, you can follow the steps on github.com and push the repo to the remote location.
Refresh your github.com webpage, and if your push was successful, you will see the files on github
