


This is going to be a basic walkthrough of some simple git commands to get you started working with repos. I’ll go over some of the basic commands that you’ll need to know to pull, update, commit and push your work within git.
Git can seem like an intimidating tool to work with. But as you use it, you’ll notice that in your daily workflow, there is only going to be an extremely small subset of commands that you will need to utilize to be able to get your daily work done, and not be yelled at because you didn’t commit your changes to the git repo.
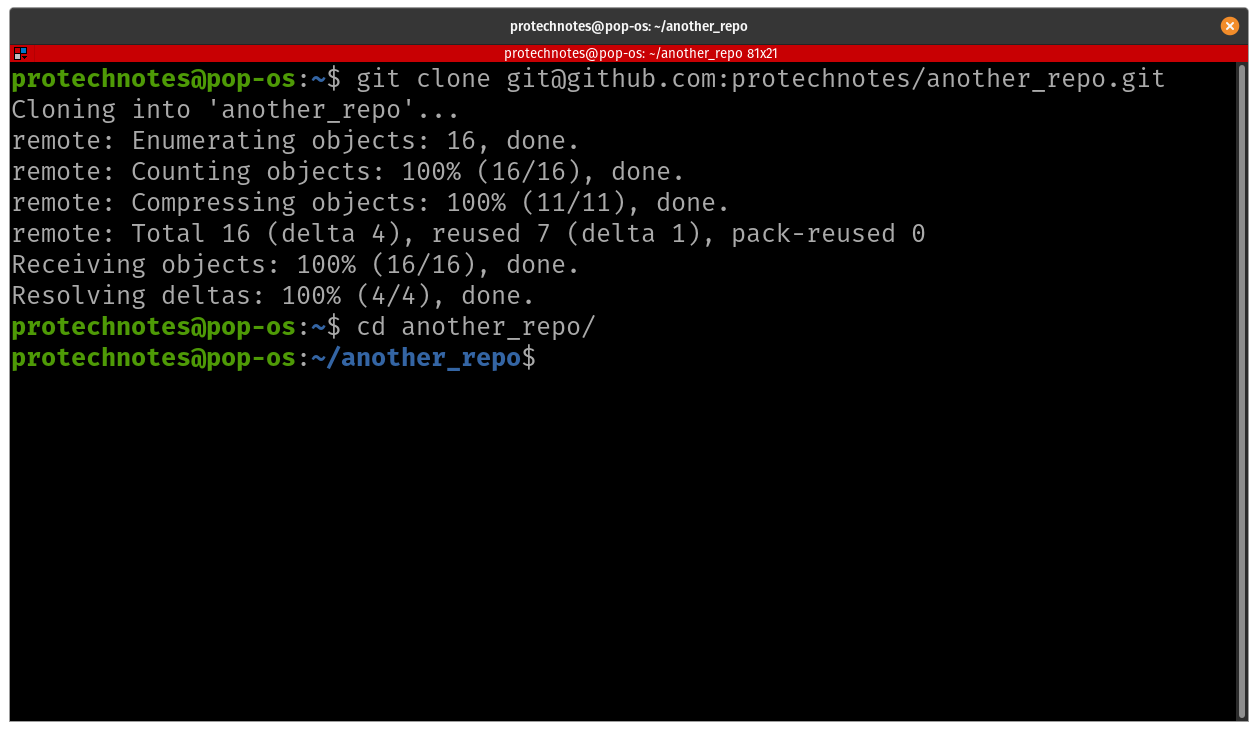
git clone <reponame>
git fetch -a
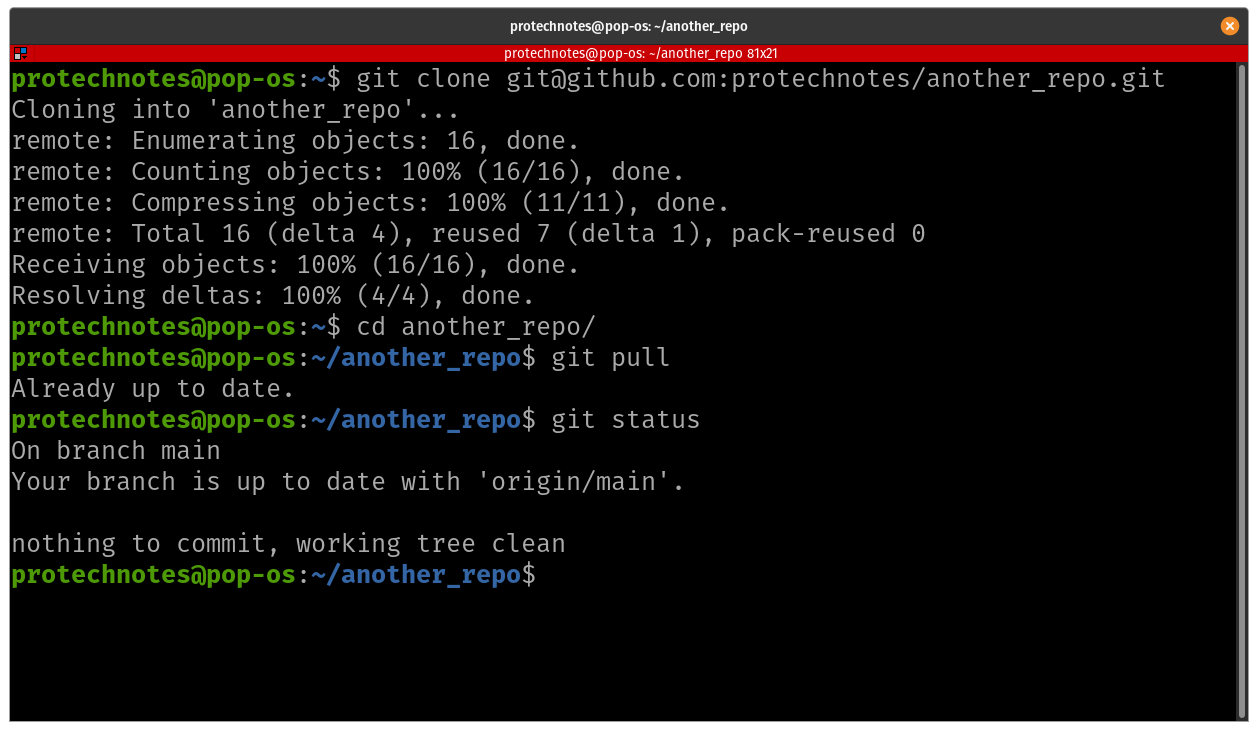
git pull
You can use git fetch to know the changes done in the remote repo/branch since your last pull. This is useful to allow for checking before doing an actual pull, which could change files in your current branch and working copy (and potentially lose your changes, etc).
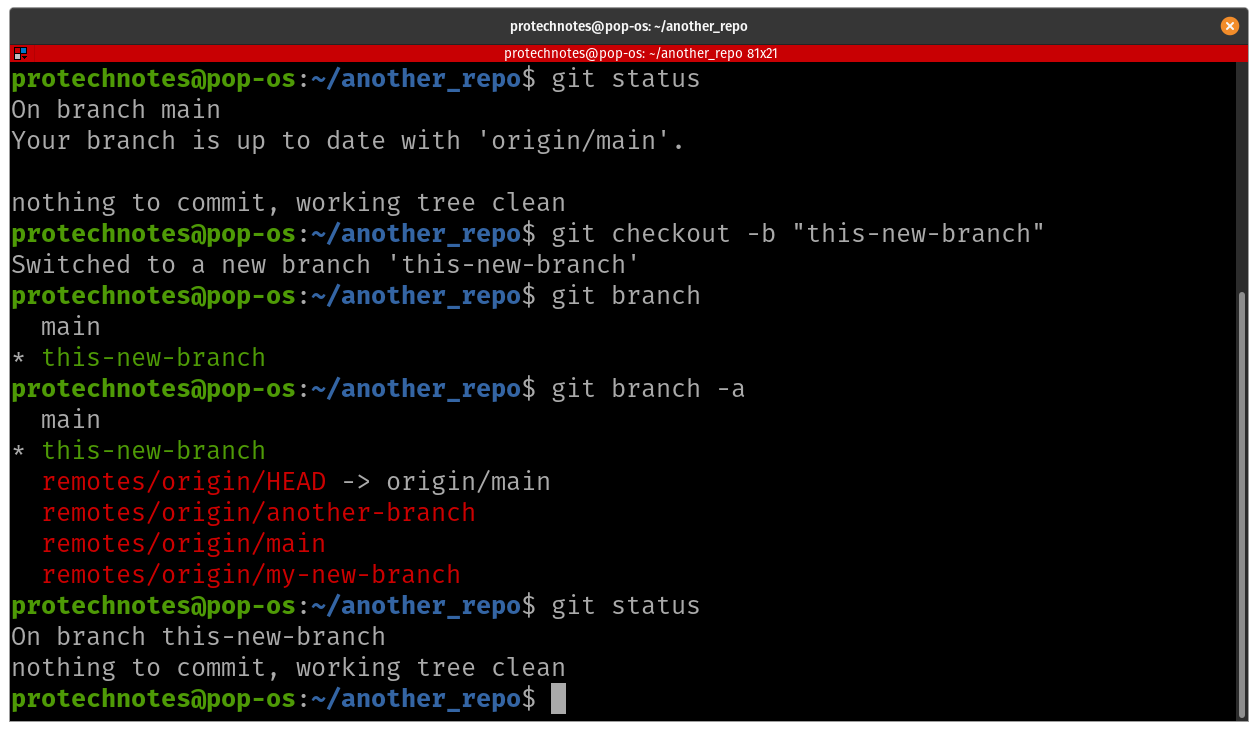
git status
Typically, you are going to want to create your own branch, and make your changes in there. Doing this will keep the main branch from being constantly broken. After you finish with your branch, you can submit a merge/pull request to have your changes added to the main branch.
git checkout -b “my-new-branch”
git branch — shows you what branch you are currently working on
git branch -a –shows all available branches
Once you have made changes within your repository, check out what is going on with git status.
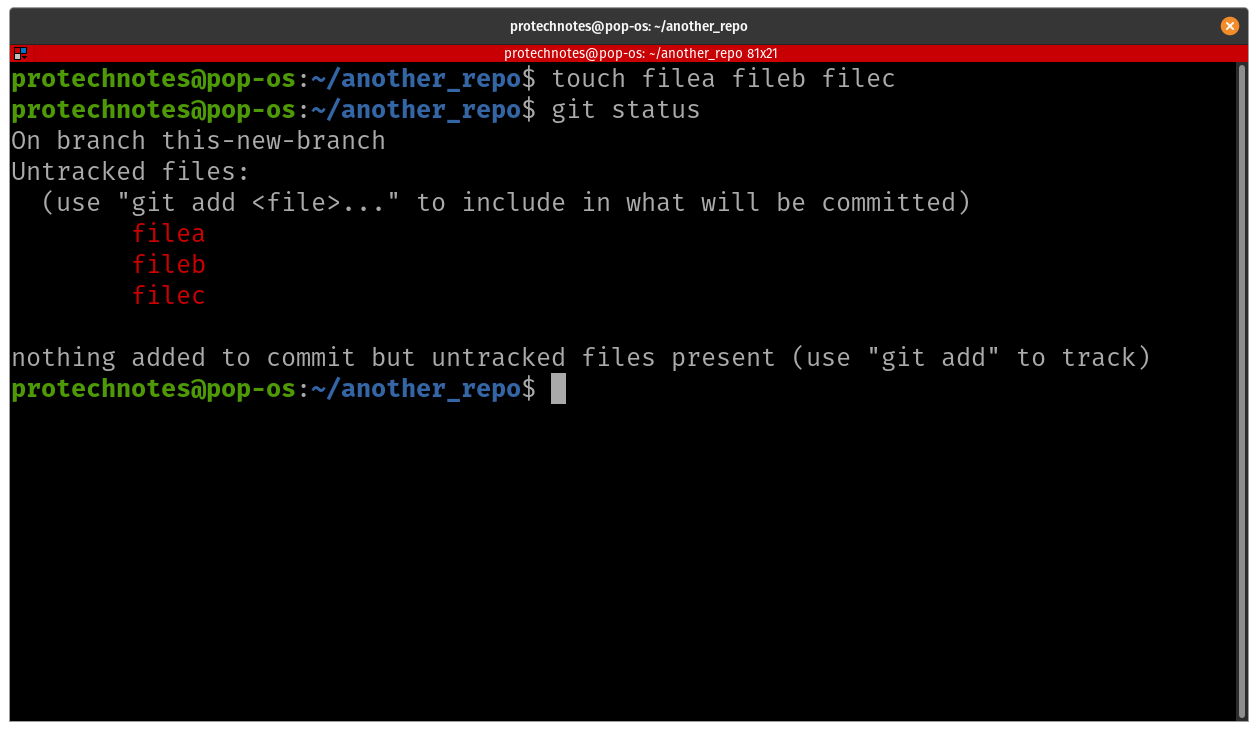
Files and directories labelled as “Untracked files:” means you have not yet added them into this git repo. You need to add these files into your repo if you would like them to be tracked along with the rest of the content within your repo.
git add file1 file2 file3
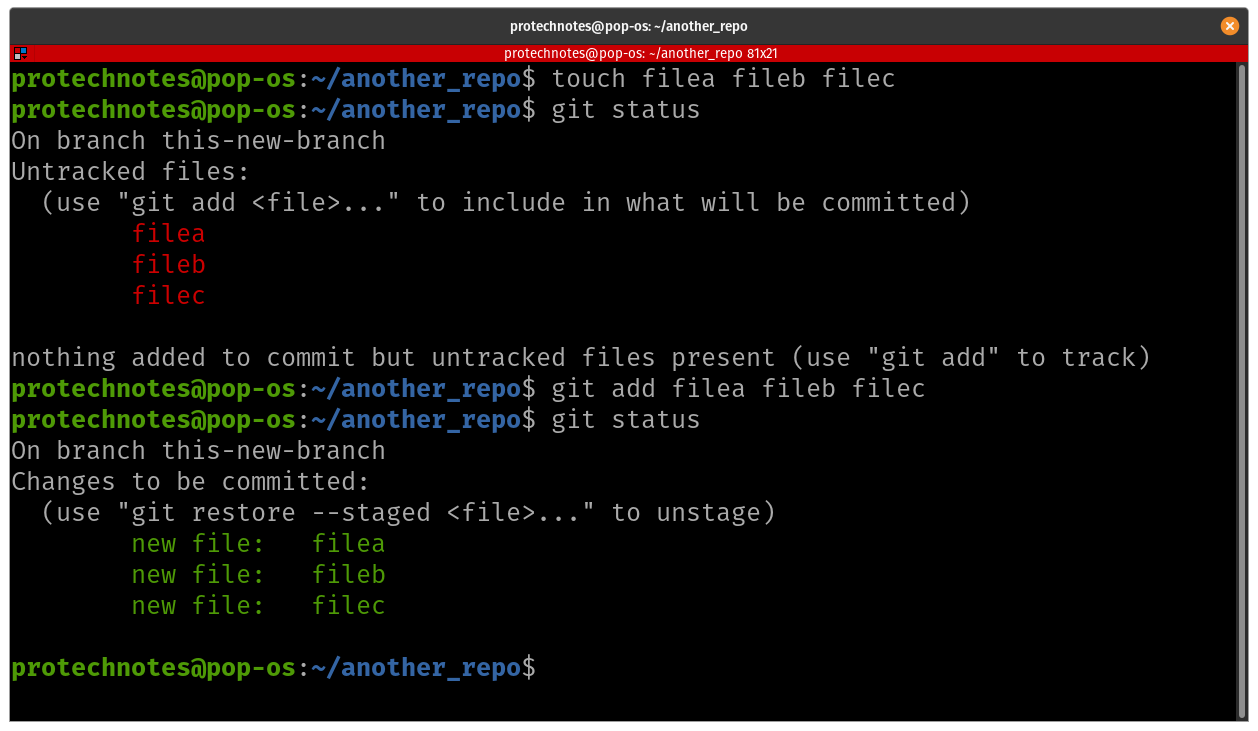
You should now see your files in green, under “Changes to be committed”. Basically, this means that any changes to these files are now being tracked in git, but if you were to push your local repo to the remote repository, it wouldn’t yet include these files (they are considered to be “staged” at the moment). You need to commit those files first.
git commit -m “Something quick and relevant to these file changes”
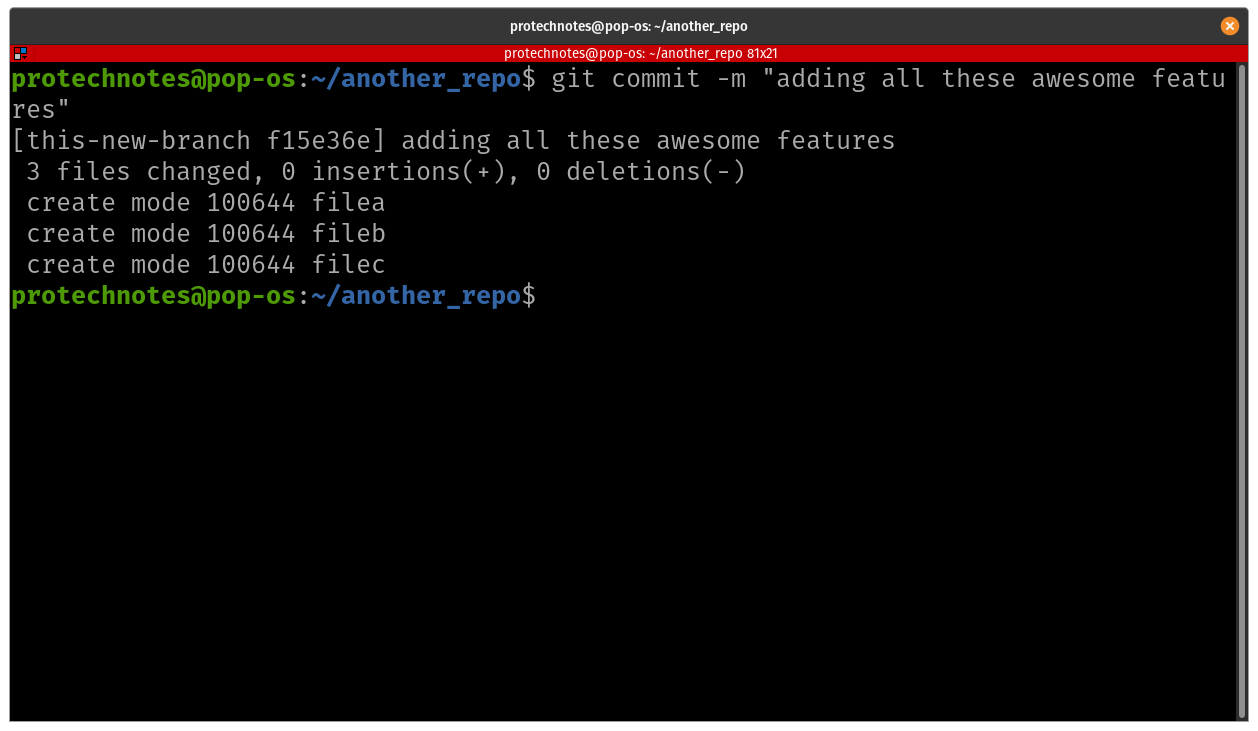
This will add your staged files into a “commit”, which we will be pushing shortly to your remote repo. Here we are using the “-m “ to add a short message to your commit. You must always add message to your commit. If you need to write more than just a quick sentence or two, leave off the “-m” and git will open your default git edit and you will have the ability to write a much longer message.
Now at this point, you could go ahead and push your commit, or you could continue to work, and make multiple commits before you go ahead and push these changes up to the remote repository. The method you choose will depend upon your workflow and your team. Sometimes it is easier to push after every commit, Other times, it is easier to wait until you are completely done working with this particular repo, and then commit and push all of your changes.
git push origin <branch_you_are_pushing_to>
Or if you are on the main branch:
git push origin main
If you are a cowboy that likes to make there own merges back to the main branch (or another branch), you need to check out the main branch and merge your changes in
git checkout main
git merge <my-new-branch>
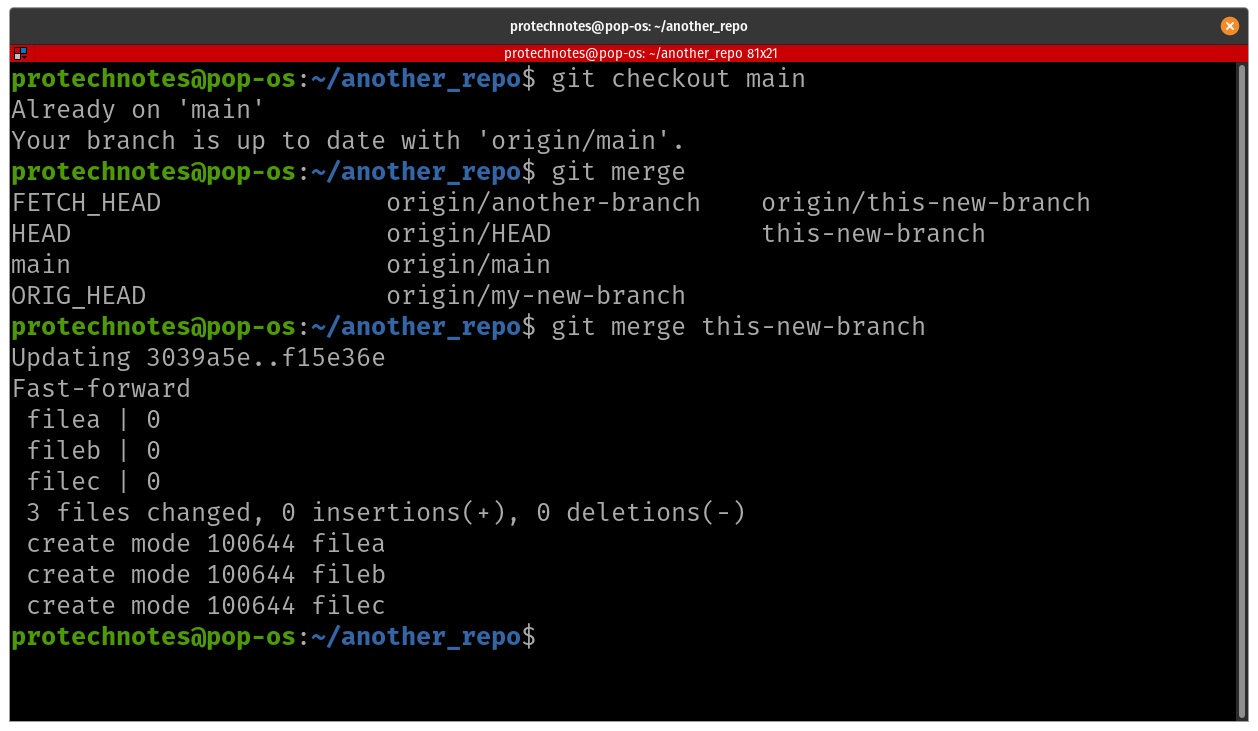
You then need to push these changes back to the remote repo. Remember, with git, you are typically making changes to your local repo, then you want to sync those changes back with remote repository
git push origin main
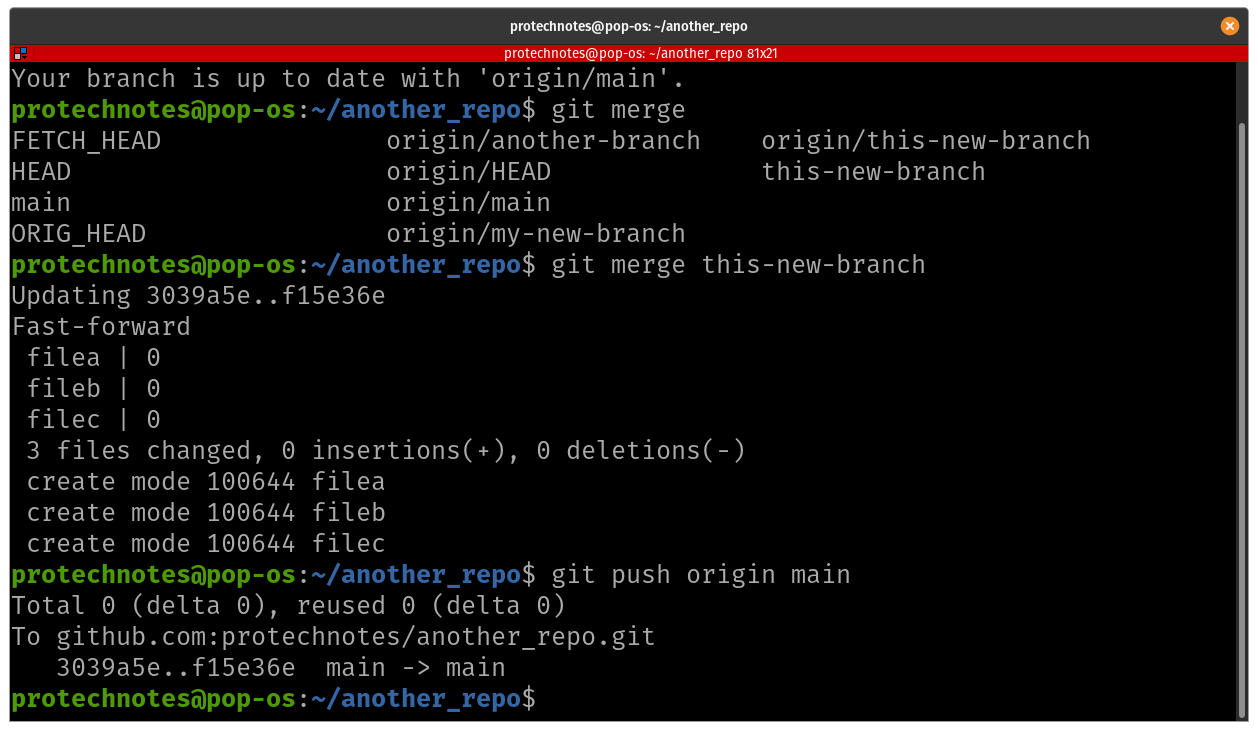
You also may want to do a “git pull” before you push your changes, in case someone has been working in the main repository since your last pull.
TL;DR:
git clone <reponame>
git pull to update your repo
git add <filename> <filename2> to add file you have worked on within the repo
git commit -m “my commit message” — commit your changes to the repo and add a file
git push origin main — push your changes to the remote repository